Creating Custom List In Excel
In this blog post we will see how to Create Custom List in Excel.
“Custom List” is very helpful & time saving option in Excel. Generally, while working in Excel many times we have to do variety of work in very short period of time. During this time we can use this “Custom list” option in Excel.
There are some lists already available in excel which are called as “Built in Lists”. These "Built in List" includes:
1. Days of the week (both in Short Form and Full Form)
2. Months of the year (both in Short Form and Full Form)
Let’s have a look on “Built in List” in excel as shown in below image.

But in addition to these “Built in List”, if we want to add few more lists then how to do that? Let’s learn through this blog post.
Let’s take a simple example. A manager has to present monthly team report to higher management. While preparing the report he has to enter the name of each team member in the report.

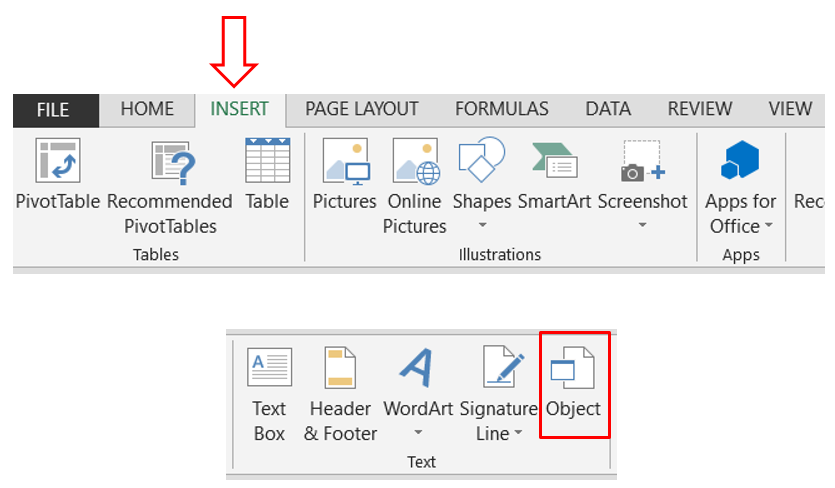
2. Click on “Options”.

3. Once we click on the “Options” following window will appear on the screen.

4. Click on the “Advanced” Option as shown in following image.

5. Scroll down and Go to “General” option & click on the “Edit Customs Lists…”.

6. Once we click on the “Edit Custom Lists…” following window will appear on the screen named as “Custom List”.

7. To add “Custom List”, click on “New List” and enter the names which we want to add as shown in below image and click on "Add" button.


9. Here we have entered Team Member 1, Team Member 2, Team Member 3, Team Member 4 and Team Member 5 in List entries as shown in above image.
After this we have to type only one name from the list in a cell and drag the cursor towards downwards as shown in below image.
 10. We will get our result of entries made in List entries i.e. Team Member 1, Team Member 2, Team Member 3, Team Member 4 and Team Member 5 automatically as shown in following image.


9. Select the Cell Range in which we have already entered data in Excel as shown in below image.


11. Click on the “Import” button as shown in below image. With this we can see that our “Custom List” is now created as highlighted in below image.

1. Days of the week (both in Short Form and Full Form)
2. Months of the year (both in Short Form and Full Form)
Let’s have a look on “Built in List” in excel as shown in below image.

But in addition to these “Built in List”, if we want to add few more lists then how to do that? Let’s learn through this blog post.
Let’s take a simple example. A manager has to present monthly team report to higher management. While preparing the report he has to enter the name of each team member in the report.
If Manager is entering the names of employees manually each & every time while preparing the report then he is wasting a lot of time.
To avoid this manual work, he can use “Custom List” in excel. Now, we will see how we can create “Custom List” in Excel with following simple steps:
1. Go to File Menu.


8. Once we click on "Add" button, we can see that our "Custom List" will get added in excel.

After this we have to type only one name from the list in a cell and drag the cursor towards downwards as shown in below image.


Alternate Method:
We can also add already existing list by using “Import” option in case of large amount of data. For this we have to follow the Step No. 1 to Step No. 6 as explained above to get the “Custom List” dialog box as shown in below image.
7. After this click on the icon highlighted as shown in image.

8. Once we click on the icon highlighted in above image following window will appear on the screen.


10. Again click on the same icon and we can see that the Cell Address of selected Cell Range is added in the field as shown in following image.

11. Click on the “Import” button as shown in below image. With this we can see that our “Custom List” is now created as highlighted in below image.

12. Click on “Ok” button and we are now ready to use our “Custom List” in Excel.


I hope you are now clear about creating “Custom List in Excel”.


Comments
Post a Comment