How to Remove Duplicate Entries in Excel
Many times while working in excel we encounter the data which contains many duplicate entries. It is very frustrating to deal with such duplicate entries. To tackle this situation we will learn to how to remove duplicate entries in excel.


3. Once we click on “Remove Duplicate” command, one dialog box with same name “Remove Duplicates” will appear on our excel screen. As we have selected data from only single column, we can see only one column named as “Fruits” under “Columns” field. After this Click on “OK” button.

4. Once we click on “OK” button, we can see another dialog box will appear on our excel screen which will show us how many duplicate values removed and how many unique values remain in our data.


2. Go to “Data” tab and under “Data Tools” we can find command named as “Remove Duplicates” as highlighted in below image.


4. If we check the checkbox for “My Data has headers” then the header row from our selection will be excluded automatically and under “Columns” section we will see the name of header for each column. Below screenshot will help you to understand this.

5. If we uncheck the checkbox for “My Data has headers” then header row will get included in the selection and under “Columns” section we will see the names of respective columns and not the name of headers. Below screenshot will help you to understand this.


7. Once we click on “OK” button, we can see another dialog box will appear on our excel screen which will show us how many duplicate entries are removed and how many unique entries will remain in our data.

8. Once again we have to click on “OK” button which is appearing in this dialog box and then we can see all the duplicate entries from our selection will get removed and only unique values will remain.

In this way can remove duplicate entries while working on excel data.
To explain this we have taken very simple example. We have listed the names of some fruits as shown in below image. As we can see this data contains many duplicate entries.

To remove these duplicates entries, follow the steps provided below:
1. Select the data from which we want to remove the duplicate entries.

2. Go to “Data” tab and under “Data Tools” we can find command named as “Remove Duplicates” as highlighted in below image.


5. Once again we have to click on “OK” button appearing in this dialog box and then we can see all the duplicate entries from our selection will get removed and only unique entries will remain.

Removing Duplicates Entries with Data in Adjacent Columns:
Now we will see how to remove duplicate entries when there is data available in adjacent columns.
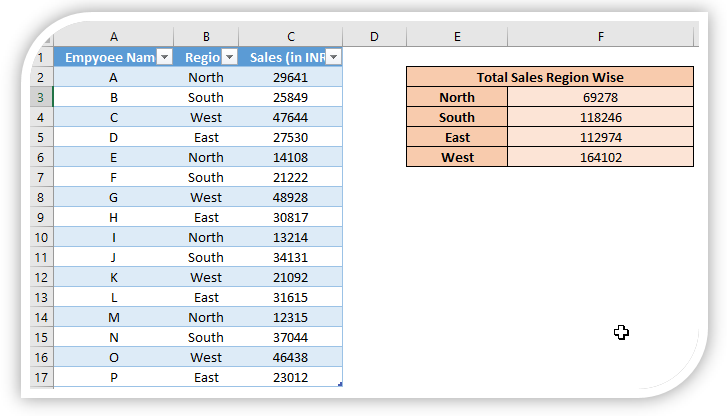
To explain this, we have prepared a dummy data as shown in below image. To remove duplicate entries, follow the steps provided below:
1. Select the data from which we want to remove the duplicate entries.


3. Once we click on “Remove Duplicate” command, one dialog box with same name “Remove Duplicates” will appear on our excel screen.


6. In our case, we have checked the checkbox for “My data has headers” and selected the column “Fruits”.


Comments
Post a Comment