OFFSET Function in Excel

OFFSET function will give us a reference of a cell, or a cell range based on provided number of rows and number of columns. Basically, OFFSET function will shift the original reference to up, down, left, or right based on provided number of rows and columns and gives us new reference.
Where to find OFFSET function on Excel Screen:
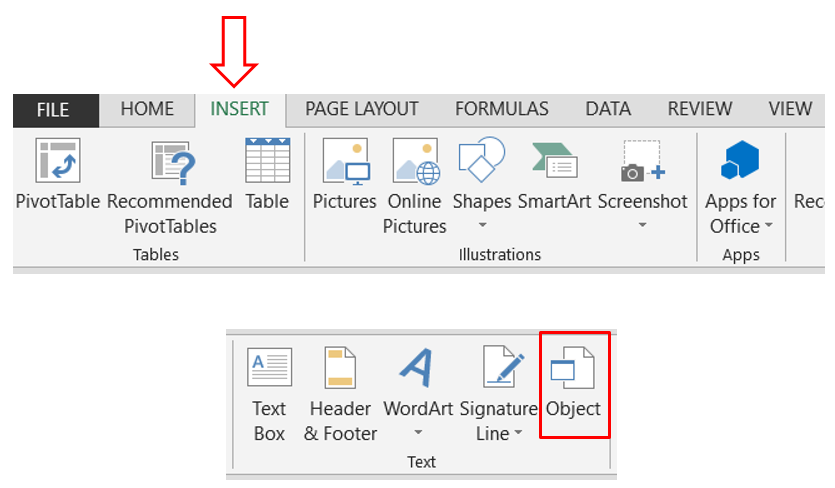
OFFSET function can be found under “Lookup & Reference” function category under “Formulas” tab and under “Function Library” group as shown in below image:


Once we click on OFFSET option as highlighted above, we will get the function argument dialog box as shown in below image:

Syntax of OFFSET Function:
The Syntax of OFFSET function is as below:
=OFFSET(reference, rows, cols, [height], [width])

Arguments of OFFSET Function:
OFFSET function takes below arguments.
reference: We need to provide reference of a single cell or a cell range in this argument.
rows: We need to provide positive of negative numbers in this argument. Positive number in this argument indicates that the original reference will shift towards upside and negative number in this argument indicates that the original reference will shift towards downside.
cols: We need to provide positive of negative numbers in this argument. Positive number in this argument indicates that the original reference will shift towards right side and negative number in this argument indicates that the original reference will shift towards left side.
[height]: This is optional argument. We need to provide positive number in this argument.
[width]: This is optional argument. We need to provide positive number in this argument.
Example of OFFSET Function:
Let’s learn to use OFFSET function with the below example. We have listed names of few employees and their sales figures from last 05 years.


Now we want to return the value which is 2 columns towards right and 2 rows below the initial reference (i.e., from yellow highlighted cell). Then we will use OFFSET function as below.


While using OFFSET function above, we have provided row number and column numbers directly in the function. But we can also provide reference to these tow arguments as well.
Refer below table, where we have already listed row numbers and column number and with the help of this we will apply OFFSET function.


Apply OFFSET function in selected cell as shown in below image.

Once we press enter button on our keyboard then we can see the output of OFFSET function as below.

To get the OFFSET output in remaining cell, we need to just copy and paste this function in remaining cells.


Comments
Post a Comment