Insert Picture in Excel

For this you have to just follow below listed easy steps.
1. Select the cell where you want to insert picture. We have selected cell “A1” as shown in below image. The cell address of this selected cell we can see in Name Box.

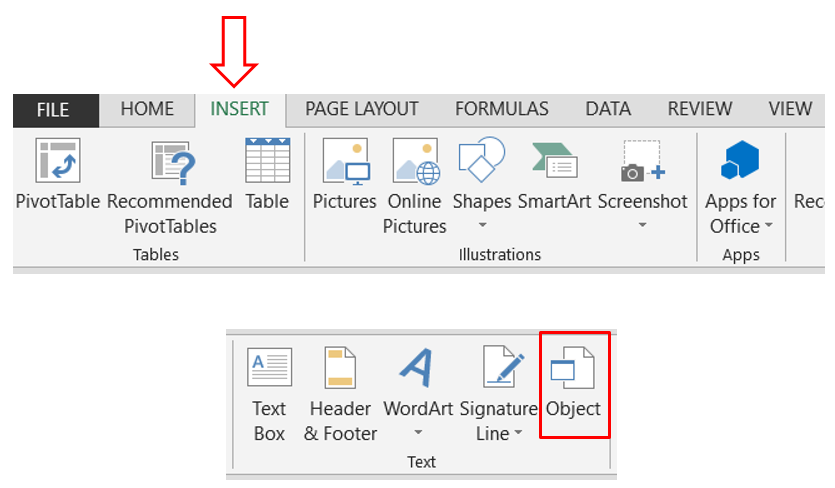
2. Once we select the cell, go to Insert tab on the Ribbon where we will find command “Picture” under Illustrations group.

3. Once we click on this “Picture” command, one dialog box named as “Insert Picture” will appear on our excel screen as shown in below image.

4. Click on the picture which we want to insert in excel. Here we have clicked on the picture which is logo of our blog Excel Tricks with Tejraj. Once we click on the desired picture, name of selected picture will automatically reflect in “File Name” field (as highlighted with red box in below image).


6. Once we click on this “Insert” button, we can see that we have successfully Inserted Picture in Excel.

In this way, we can insert picture in excel.


Comments
Post a Comment