Insert Object in Excel
Many time we may need to insert word file, pdf file or presentation in excel. But many people don’t know how to add these pdf files, word files or PPT files in excel. For those people we will learn to insert objects in excel through this blog post.


4. Click on “Browse” button, which will provide the option to select the file which we want to insert in excel.


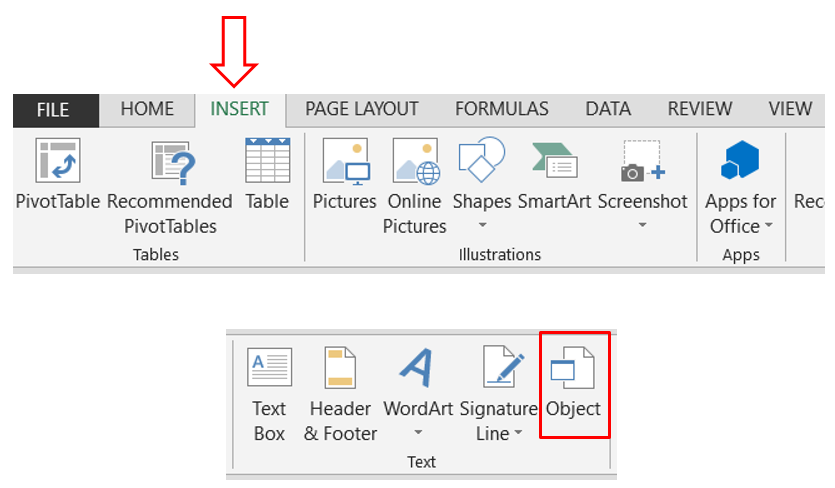
1. For this we have to go to “Insert” tab and under “Text” group and click on the command “Object”
2. Once we click on the “Object” command, one dialog box names as “Object” will appear on excel screen.
3. Click on the “Create from File” tab as highlighted in below image.
5. Once we select the file, we can see the file name along with its path will reflect in dialog box as shown in below image.
6. Also we have to check the checkbox for “Display as icon” as shown in below image.
7. Once we click on “OK” button, selected file is now inserted as an object in our excel file.
To Change the Caption of Inserted Object:
We can now insert object (PDF file) in excel with the help of above steps but there is one problem. We can see that the caption of inserted pdf file is too long. But don’t worry. We can also change this caption.
1. Follow the same steps from step no 1 to step no 6 and click on “Change Icon” button as highlighted in below image.
2. “Change Icon” dialog box will appear on our excel screen. Edit the desired caption in the red highlighted area. In this case we have changed the caption to “Test pdf file”.
3. Once we edit the caption, we have to click on “OK” button.
4. With this we can see that the inserted pdf file is now with short caption.
Similarly, you can also insert word file or ppt files as an object in excel.


Comments
Post a Comment